How to Apply for eVisa India: Step-by-Step Application Guide
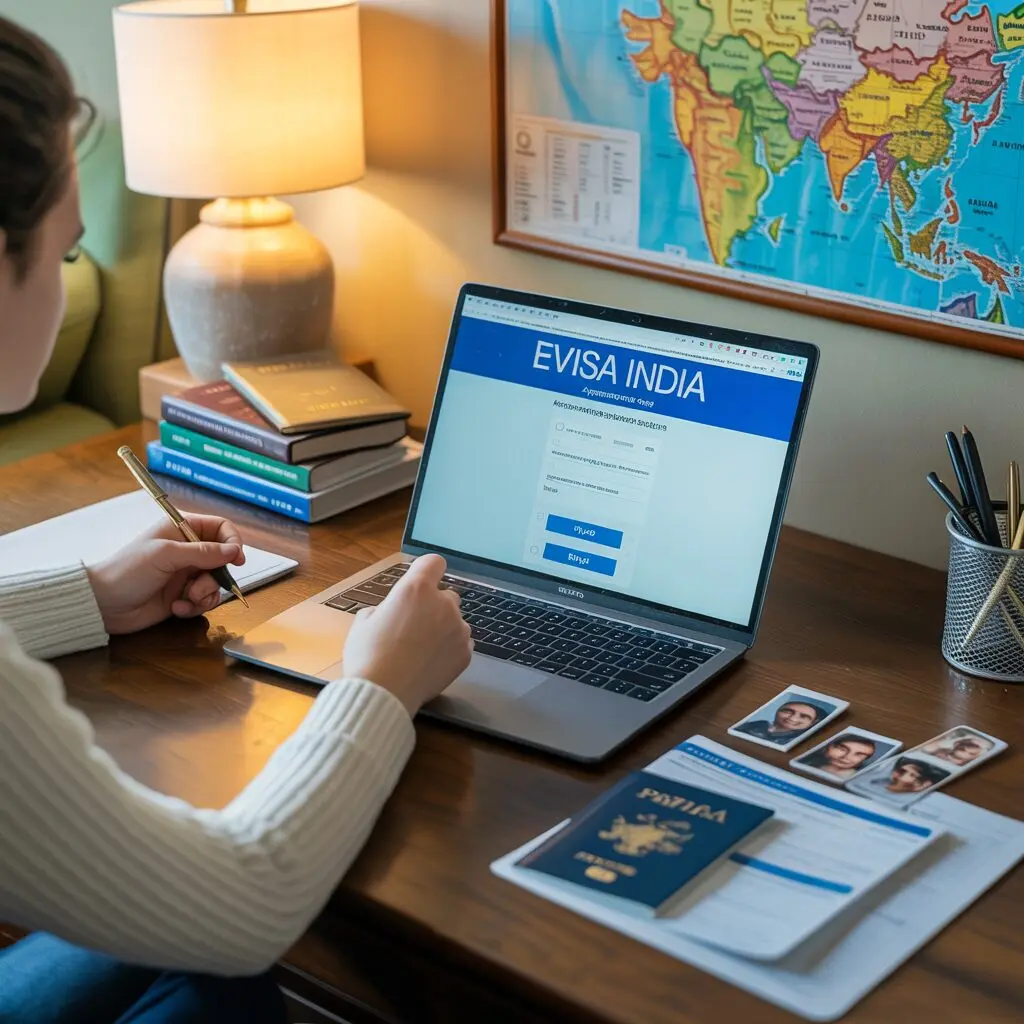
Applying for an Indian eVisa is a fully online process that takes about 10–15 minutes. This guide walks you through every step, from creating your application to receiving your Electronic Travel Authorization (ETA).
Before You Start
Gather these items before beginning your application:
- Valid passport with at least 6 months validity from your arrival date
- Digital passport-size photograph (JPEG, white background, 10 KB–1 MB)
- Scanned passport bio page (PDF, max 300 KB)
- Credit or debit card for payment
- Email address you check regularly
- Travel itinerary details (flight numbers, hotel addresses)
Step-by-Step Application Process
Step 1: Visit the Official Portal
Go to indianvisaonline.gov.in/evisa — this is the only official website for Indian eVisa applications. Avoid third-party sites that charge additional service fees.
Click “Apply Online” to begin a new application.
Step 2: Select Your Visa Type and Nationality
Choose your nationality from the dropdown menu. The system will automatically show which eVisa categories you qualify for. Select the appropriate category:
- e-Tourist Visa — for tourism, sightseeing, casual visits
- e-Business Visa — for business meetings, trade, conferences
- e-Medical Visa — for treatment at recognized hospitals
- e-Medical Attendant Visa — to accompany a medical patient
- e-Conference Visa — for government-organized conferences
- e-Student Visa — for short-term study programs
- e-Family Visa — for visiting family
- e-Transit Visa — for transiting through India
Step 3: Fill in Personal Details
Enter your personal information exactly as it appears in your passport:
- Full name (as printed on passport)
- Date of birth
- Place of birth
- Citizenship/nationality
- Gender
- Passport number
- Passport issue and expiry dates
- Religion (optional but recommended)
- Visible identification marks
Important: Any discrepancy between your application and passport can result in rejection.
Step 4: Enter Travel Details
Provide your planned travel information:
- Expected date of arrival in India
- Expected port of arrival (select from 28 designated airports or 5 seaports)
- Purpose of visit (detailed description)
- Places you intend to visit
- Hotel/accommodation address
- Reference name in India (hotel contact or personal acquaintance)
- Reference phone number
Step 5: Answer Eligibility Questions
You will be asked a series of yes/no questions about:
- Previous visits to India
- Previous visa refusals
- Criminal history
- Employment details
- Educational background
Answer honestly — providing false information can result in permanent visa denial.
Step 6: Upload Documents
Upload the required documents:
Photograph requirements:
- Recent color photograph taken within the last 6 months
- White background, no glasses
- Full face visible, looking directly at camera
- JPEG format, 10 KB to 1 MB
- Square aspect ratio preferred
Passport scan requirements:
- Clear scan of the bio/data page
- All text must be legible
- PDF format, max 300 KB
- Include the machine-readable zone (MRZ) at the bottom
Step 7: Review Your Application
Before submitting, carefully review every field. Check that:
- Your name matches your passport exactly
- Passport number is correct
- Dates of birth, issue, and expiry are accurate
- Travel dates and arrival port are correct
- Uploaded documents are clear and properly formatted
Step 8: Pay the Fee
The system redirects to a secure payment gateway. Payment options include:
- Credit card (Visa, MasterCard, American Express)
- Debit card
- Payment wallet
Fees vary by nationality and visa type:
| Visa Type | Duration | Fee (USD) |
|---|---|---|
| e-Tourist Visa | 30 days | $10–$25 |
| e-Tourist Visa | 1 year | $40 |
| e-Tourist Visa | 5 years | $80 |
| e-Business Visa | 1 year | $80 |
| e-Medical Visa | 60 days | $25 |
A bank transaction charge of 2.5%–3% applies additionally.
Step 9: Receive Your ETA
After payment, you will receive an application ID. Use this to check your application status on the portal. Once approved, the ETA (Electronic Travel Authorization) will be sent to your registered email as a PDF.
Print the ETA — you must present it at the immigration checkpoint in India along with your passport.
Application Tips
- Apply at least 4 weeks before your travel date
- Use a desktop or laptop for easier document uploads
- Save your application ID immediately — you need it for status checks
- Use the same passport for application and travel
- Double-check your email address — the ETA is sent only via email
- Keep a copy of the ETA on your phone as a backup
How to Check Application Status
- Go to indianvisaonline.gov.in/evisa
- Click “Check Your Visa Status”
- Enter your application ID and passport number
- View current status: Pending, Granted, or Rejected
- Print the ETA document
- Carry it with your passport during travel
- At the Indian immigration checkpoint, present both documents
- The immigration officer will stamp the actual visa in your passport
- Keep the passport stamp safe — it serves as your official visa
What to Do After Approval
Frequently Asked Questions
No. Each applicant must submit their own application. However, you can assist someone in filling out the form — the applicant’s own passport and documents are still required.
If your application hasn’t been processed yet, you may be able to submit a new one. If already processed, you’ll need to contact the eVisa helpdesk at [email protected].
No. The eVisa must be obtained before arriving in India. If you’re already in India and need visa services, contact the nearest Foreigners Regional Registration Office (FRRO).
You need to know your expected arrival date and port of entry, but confirmed flight bookings are not mandatory at the application stage.